An easy guide on how to make a token on Polygon
Previously known as Matic Network, now it is called Polygon Network. It is quite easy to make an asset, even if you don’t have programming experience.
In this article, we’ll take you through the entire path from beginning to end, explaining how to make a “freshly baked” token on Polygon Network. By following our comprehensive guide, you will be able to cut your deployment time down from weeks to minutes!
Visit Remix
You need to make a new smart contract for your asset. So, you need to visit Remix to write and execute programs in Ethereum. As soon as you visit the platform, then click on the “Contracts”, which is placed on the left side of that page and select “Create new contract”. You need to name your new coin related to your product.

Choose the right template
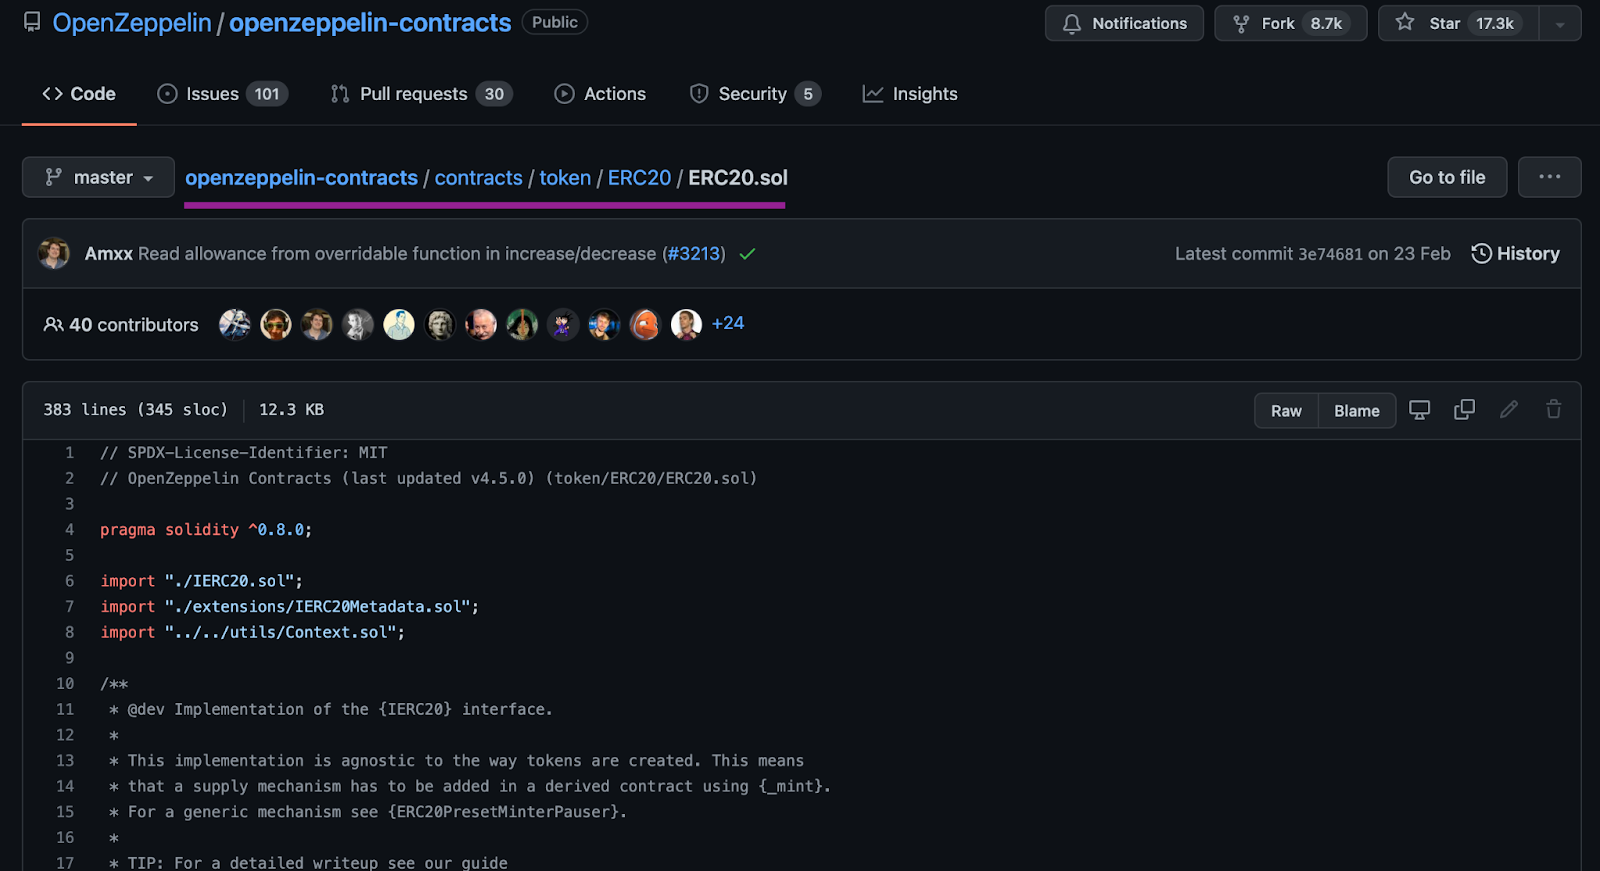
In order to find the most suitable solution, please, visit OpenZeppelin. It is an open-source project. Here is a vast range of smart contract templates that could be integrated into different crypto businesses.
Make a token template
You need to find it on OpenZeppelin. For example, ERC20. After selecting the most suitable solution, you have to transfer the file by tapping on “Copy” in OpenZeppelin. Once done, then return back to Remix and paste it into the new smart contract that you have made.
Build a new smart contract
We need to return to OpenZeppelin. So, there you can find the rest of the token contract at the end of the page that has the ERC20 template.
You need to use the top line of the code, and it shows the Solidity version. This has to be left above the import file of your smart contract.
Then use the remaining token template that you see OpenZeppelin below the import line. Then on the constructor line, you have to place the name and a ticker for your asset. We should also notice that a ticker is a set of letters.
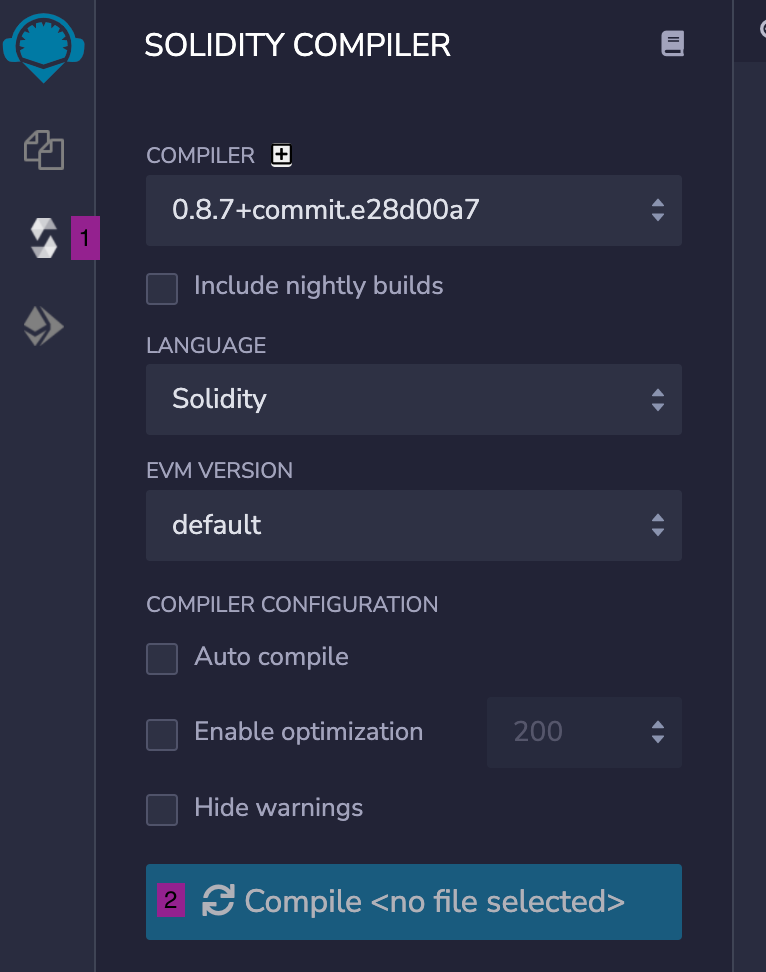
Build and check out if the smart contract operates smoothly
Take a closer look at the smart contract. Is it bug-free? In order to do this, you need to tap on the “Compiler” part that you can find on the left side of the menu and select “Compile”. Once the compilation is finally over, you will see a green tick image.
Then you need to deploy and run transactions. You can find it out below the compiler part.
Launch your asset on Polygon
Please, check in case “Injected Web3” was selected. Beneath the Account tab is the wallet address to which the tokens will be transferred. Before you tap “Deploy” to send your tokens to the wallet, find out if your MetaMask wallet is linked with the Polygon network. You also need to select a “Confirm” option in your MetaMask account to complete the transaction.
That’s all! Now you have successfully made your own token and use it for your purposes. Stay tuned for new articles in our blog coming soon!